

Authentication with Azure Static Web App
This blog goes through the steps with you can utilize OAuth in your Static Web Apps deployed on Azure


Introduction
One of the latest and greatest offering of Azure is the Azure Static Web Apps which is a service which you can use to server Static Websites. A Static Website is a term used to define a website which contains of Static Web Pages.
To quote Wikipedia Static Web Page is nothing but -
A static web page (sometimes called a flat page or a stationary page) is a web page that is delivered to the user's web browser exactly as stored,[1] in contrast to dynamic web pages which are generated by a web application. read more here
So, if you are building a website which has Static Web Pages then, Azure Static Web Apps is a great offering that can benefit you. It has a generous free plan and supports custom domains as well. You will get SSL as well for your custom domains with the free plan itself.
Now there are quite a few ways with which you can create Static Web Apps these include creating vanilla HTML5 website yourself or other popular ways such as creating one with Create-React-App, NextJS or VueJS.
Now with this blog itself I am attaching a repository that I made myself for a session I'm about to take in a few days and it is located here.
This repository contains two samples each for a NextJs and a React Application both implementing the authentication flow.
I will talk about the flow in the tutorial below.
Let's move on to the tutorial itself -
As and when you deploy a website to Azure Static Web Apps it automatically comes with OAuth routes enabled in it and you just need to route your app to correct routes to get user credentials from different Auth Providers. It's simple.
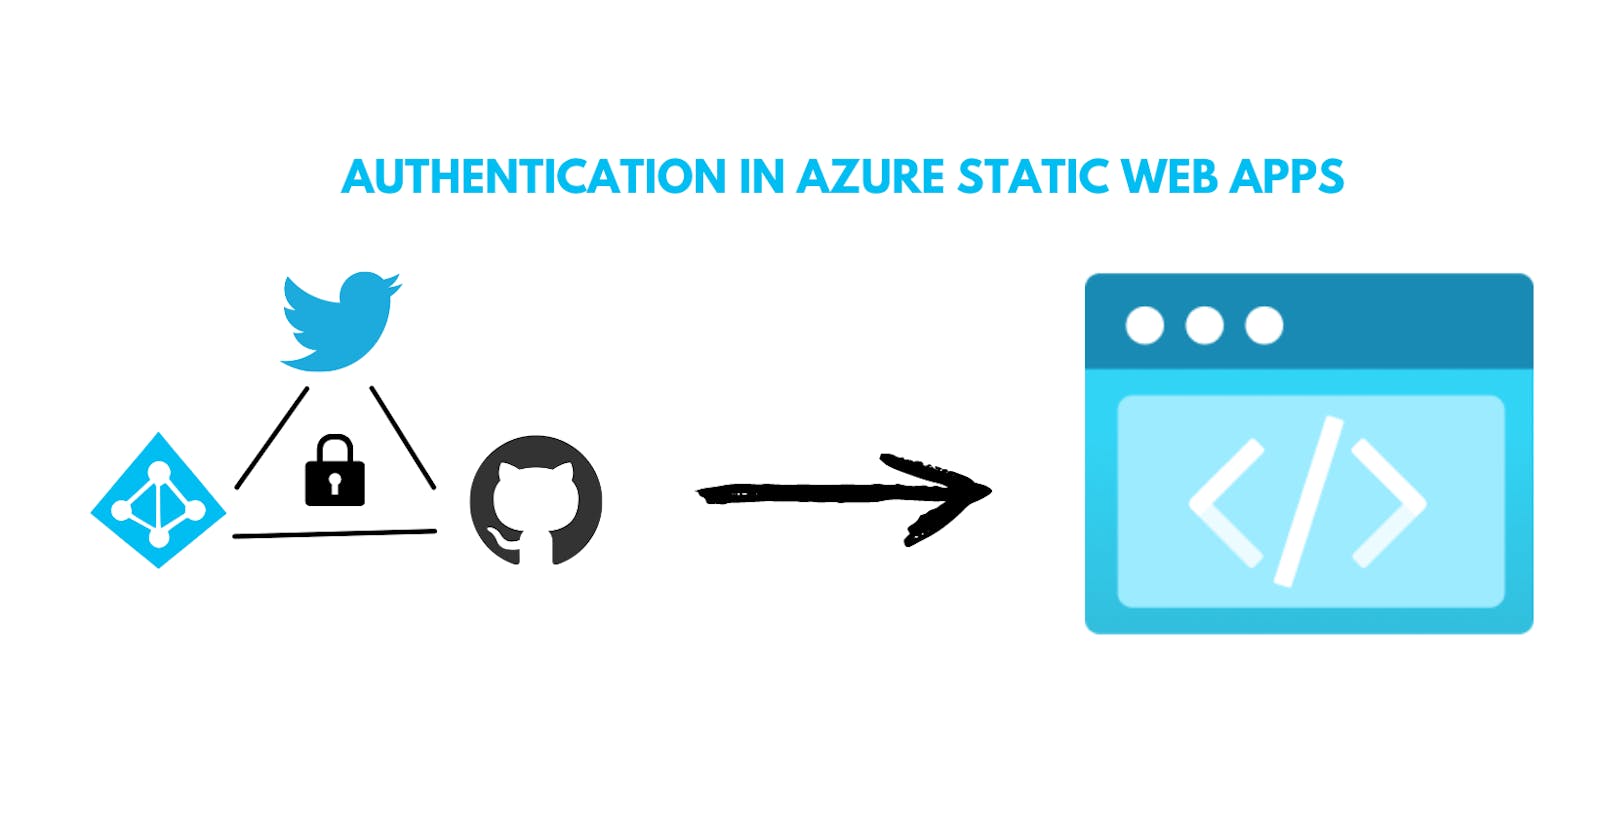
Currently Azure SWA supports providers such as GitHub, Twitter, and Microsoft AAD. to gain user credentials from any of the providers you just need to redirect users to routes such as
/.auth/login/aad
/.auth/login/github
/.auth/login/twitter
for getting authenticated with AAD, GitHub or Twitter, respectively. After you have redirected them to these routes the Authentication flow will happen according to the providers and once the users are authenticated, they will be redirected to your website automatically.
What are routes?
Well, when you visit any website, you are greeted by the home page which is the index.html on the root of the website directory [root directory is also described like this website.com/ or website.com/index.html]. As and when you change to different pages say about.html or support.html your route changes to website.com/about.html and website.com/support.html.
In a Static Web App route is the folder structure of how the html pages are placed in your website. So, a file named john.html inside the person folder in the website root directory will have a route of website.com/person/john.html
Setting up routes with StaticWebApp.config.json
One sweet thing that comes with Azure SWA [i.e. Static Web App] is the staticwebapp.config.json file which you can use to setup some settings for your SWA [i.e. Static Web App].
While with file you can setup several settings one thing that we are focussing on right now is authentication and if you look at the URLs you are about to route your users is not a friendly URL so we can set a friendly URL with the config file while under the hood using the same not so friendly URL. The way you can do this is create an object named routes in your config file and defining the routes and new friendly names you want them to be routed at. It sounds complicated but is not here is how it will look like -
{
    "routes": [
        {
            "route": "/.auth/login/aad",
            "statusCode": 404
        },
        {
            "route": "/.auth/login/github",
            "statusCode": 404
        },
        {
            "route": "/login",
            "rewrite": "/.auth/login/twitter"
        },
        {
            "route": "/logout",
            "redirect": "/.auth/logout"
        }
    ]
}
here you can see that under the routes object we have all the routes mentioned and I have disabled AAD and GitHub Authentication routes by giving them a status code of 404 when the route is accessed. With that I have also updated route /login to rewrite to /.auth/login/twitter under the hood whenever it is accessed. I have also done the same for /.auth/logout which can now be accessed at /logout and is used to logout the user whenever they access this endpoint.
Now after you have made such a file whenever you access the route /login you will be asked to login via Twitter and whenever you access /logout the user related data will be removed from the accessing client. Sweet isn't it.
Well with that done you have a way of Authenticating users from Twitter, GitHub or AAD. Question is how you would access user data when they are logged in and how do you know whether they are logged in or not. The solution is simple.
Within you application you can make a simple REST call to /.auth/me and it will return clientPrincipal object whenever you call it. Now this object will contain authentication data if the user is authenticated i.e. Logged in and will contain a null if user is not logged in.
In the React App sample I have used Redux for state management, and it is a little complicated on how it works but in the NextJs App it is very straightforward, and this is how it looks -
  const [user, setUser] = useState<{ userName: string; role: string }>();
  const fetchUser = async () => {
    const user = await fetch("/.auth/me");
    const data = await user.json();
    setUser({
      userName: data?.clientPrincipal?.userDetails,
      role: data?.clientPrincipal?.userRoles,
    });
  };
  useEffect(() => {
    fetchUser();
  }, []);
Explanation of the code
Now if you look at the code you can see that I have a user state variable defined and an useEffect function with [] as the second parameter and it executes fetchUser which updates the user state itself.
If you don't understand react that much, I can simplify it for you. The block of code defines a user state variable which you can use in the UI directly and initially it contains nothing.
There is a fetchUser function which calls the /.auth/me route to fetch user details and updates the user state variable.
The useEffect function with an empty array as second parameter makes the function in the first parameter run only once when the page is loaded. So, whenever user loads the page it calls the API, gets user data, and stores it in the user state variable. Simple, isn't it?
You can look at the sample for more detailed view on it or try to implement it yourself and ask me if you face some problems while doing so. that was it for the blog and see you next time.
A bonus tip, you can use Azure SWA CLI to try out the Authentication setup locally. No need to deploy your app to Azure every time you need to check something Authentication related. You can find more about the CLI here.
If you have some questions to ask them in the comments below or hit me up with an email.
That was it, Have a wonderful day.